Slipstreaming drivers in to your Windows installation can either make your Windows install super simple or just make it possible. Most modern SATA and RAID controllers need specific drivers for Windows to see and use the hard drive, and with most newer computers not having a floppy drive and most unable to use a USB attached one this leaves you to only option to add the correct driver to the CD using this slipstream technique. Besides adding hard drive controller drivers so you can install windows you can also add whatever other drivers you would typically install in Windows and put them in the install. Today I will be walking you though adding a RAID card driver to a Microsoft Windows 2003 Standard Edition installation.
Requirements
- Microsoft Windows OS CD (2000,XP,2003 / Any Flavor)
- nLite 1.4.9.1
- RAID or SATA Driver needing to be added to your Windows Installation
- Knowledge and Software to Burn an ISO image
Directions
Get the nLite software installed and fire it up, the software is pretty much a glorified wizard, but I will still take you step by step though it.
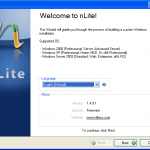
- Select your language, I would suggest English in your case and press Next
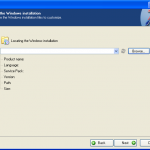
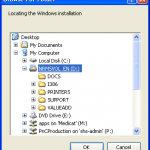
- Click Browse and use the Browse for Folders dialog box, now Select your CD-ROM drive that contains your Microsoft Windows CD, then click Next
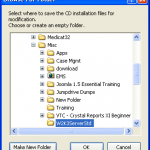
- Since you selected the CD in the first option, it should now Warn you and prompt you as to a Folder it can use to copy the files off the Windows CD and customize them in. I just made a folder in my Misc folder for this version of Windows

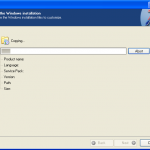
- Now you should see a progress bar box, it is coping the files from the CD to the directory you selected so they can be customized. Once finished it should identify your OS, now press Next
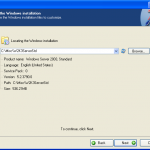
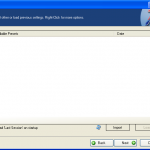
- This screen would allow you to import a previous set of nLite settings if you had used it before, however we haven’t so just Next though this window
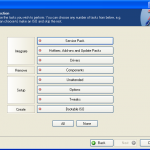
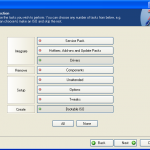
- Now you can see all the different areas that nLite can customize to make your installation go easier, however we are only interested in adding some drivers so we can actually install Windows so select Drivers and Bootable CD because we want to be able to boot to the CD and maybe burn it at a later date, then press Next
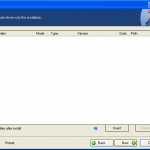
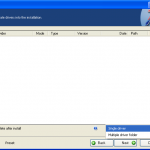
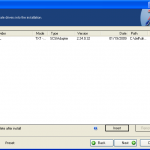
- You will now be presented with the Drivers screen which will allow you to add drivers to your installation. To add a driver click on the Insert button. It should give you a small menu asking you to Select Single Driver or a Multiple Driver folder, for our use we just need to add the one Single Driver so select that.
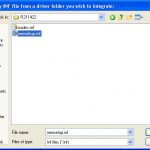
- It should prompt you to select the INF needed for the install, browse to where your driver is and select it.
- Now it should identify what the driver is actually for and it asks you to select a mode. Regular PNP Driver should be used with devices that will be installed during the installation (network, video, sound), Textmode Drivers are loaded before the Windows installation starts, it is the equivalent of pressing F6 during the install and pointing to a floppy disk for the driver. This is mostly used for hard drive controllers, because Windows needs to know how to use the hard drive before it can install anything to it. Once you have selected the correct mode press OK
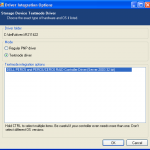
- If you need to add more drivers just repeat the last three steps of the process, we only need the one driver to see our new RAID controller so we will press Next and move on.
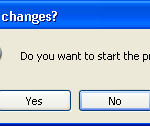
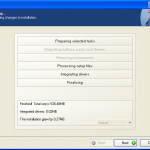
- Since this was the only part of Installation we were customizing it now asks if we want to start the process of applying the changes, go ahead and press Yes. It will next present you with a quick little status screen about it integrating the drivers and provide you with a little summary. Once it has completed press Next
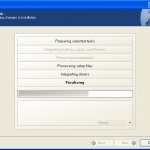
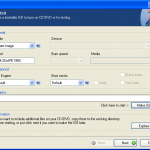
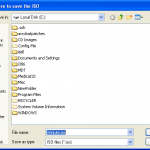
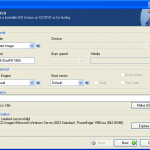
- Now it will provide you with a screen to Burn to a CD or Create an image, for this example we will create an image, this way I don’t have to repeat this process next time I want this driver on this CD. Go ahead and customize the label, this can help you remember what you added to this customized Windows installation, just leave the rest to default and click Make ISO, it will then prompt you as to where to save the CD/ISO image, once you have found a good location (I typically have a CD Images folder on my C: drive) then press Save
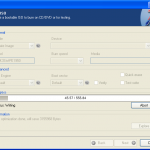
- You should now be presented a progress bar box of it saving the ISO file to your Hard Drive. Once finished it should show you that it was created successfully. now you can press Next and Finish to close the nLite program.
- The last step is a bit more independent of your setup, but run your favorite CD burning program and select Burn Image and direct it to the ISO image you just saved. This will create a bootable customized Windows CD that you can use to install your system
[…] with a floppy and won’t recognize a flash driver when installing XP your only option is to slipstream the driver on to the Windows XP CD to make it boot the PC. Well with these newer Dells you have the option to go in to the BIOS and […]
yo big thanks, ive read so many guides out there and yours is the only one that has worked. you rule.
[…] I have a SATA drive that shipped with a Dell Optiplex 960, with Vista installed. We still run XP for the classroom labs, so I am attempting to install XP on the SATA drive. I found this blog post, by Wayne Zimmerman, which seems to be the correct solution. It requires “splipstreaming” the correct AHCI drivers onto the Windows XP setup disk, which Zimmerman describes in this post. […]
I can not finde the INF file which you said at the 8th step, can you tell me were I can find it.
Armanim, you have to download and extract the drivers to a folder then navigate to the folder when prompt and select the inf.
Thank yuo very much wayne,Ihope its work on my shit box.Have nice day
thanks lot it is very help full unintended cd
you have to extract your Drivers… to see the inf file.
I didn’t read step 9 carefully enough and wasted 2 CDs trying to accomplish the slipstream.
To slipstream SATA / RAID drivers you need to use the ‘Textmode’ option! I’ll have to go and buy some more CDs and try it again.
Question/Note:
When slipstreaming the onboard Intel ICH10R SATA controller driver with nLite… in step 8 there are two .INF files from which one can choose: iaAHCI.inf and iaStor.inf.
If what I want is to get Windows 2003 install to recognize my SATA RAID drive, I assume that I would choose the iaStore.inf file, right?
I open the iaStor.inf file in a text editor, it contains a line that says: “Intel(R) ICH8R/ICH9R/ICH10R/DO/PCH SATA RAID Controller”… and the word RAID doesn’t even exist in the iaAHCI.inf file.
Russ.